Creating a natural-looking part transforms a wig from “wig” to “your hair.” This wig parting guide walks beginners through the choices and techniques that matter most: understanding construction (fixed vs lace options), working with the product label instead of fighting the cap, basic tools, and small finishing moves that make a part believable. We focus on practical steps you can use with both synthetic and human-hair wigs and links to resources in our catalog and care pages for supplies and further reading.
Know your wig construction: fixed parts vs lace partings
Before you try to change or refine a part, identify how the wig is built. There are two common approaches you’ll encounter:
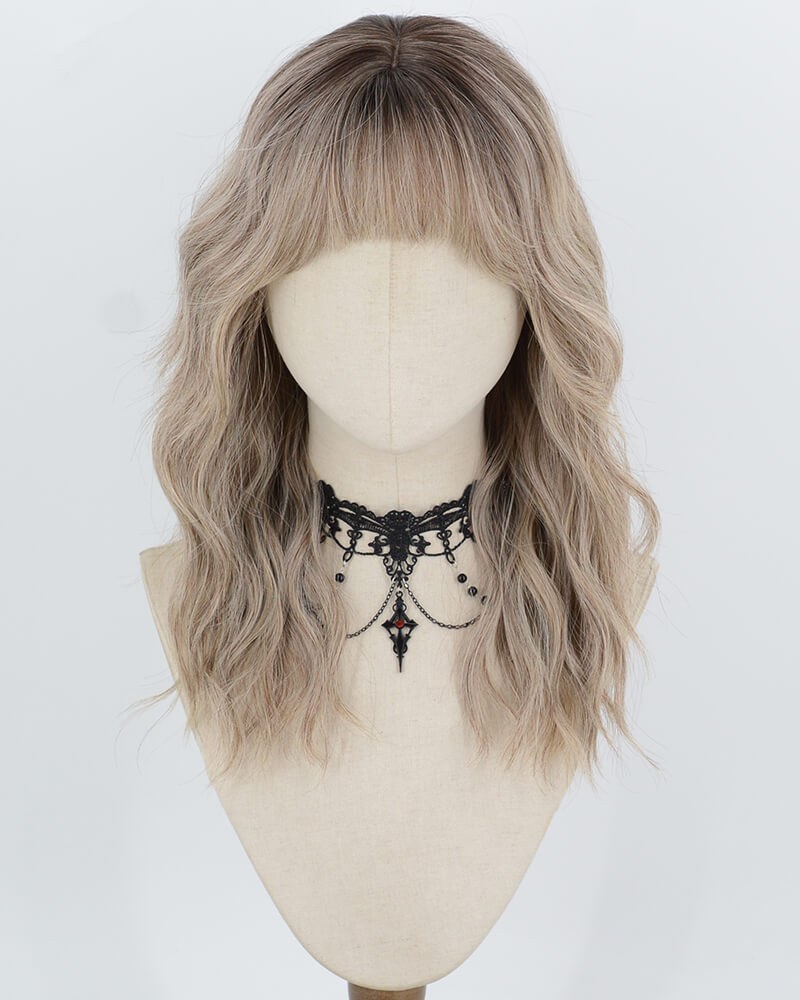
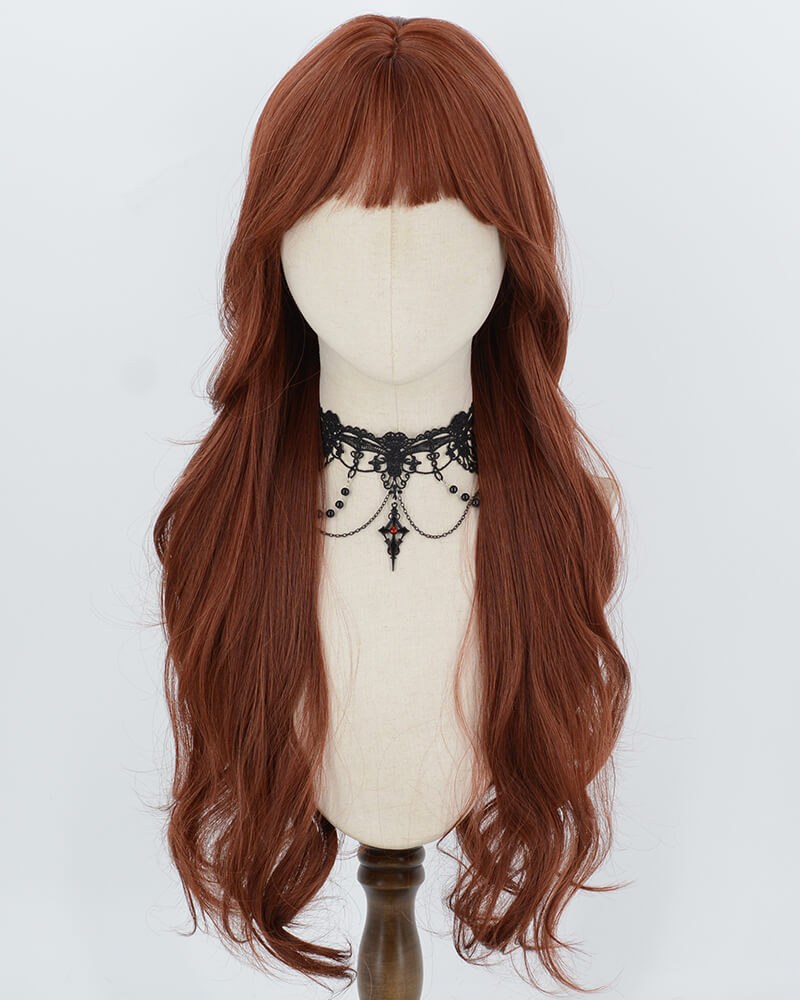
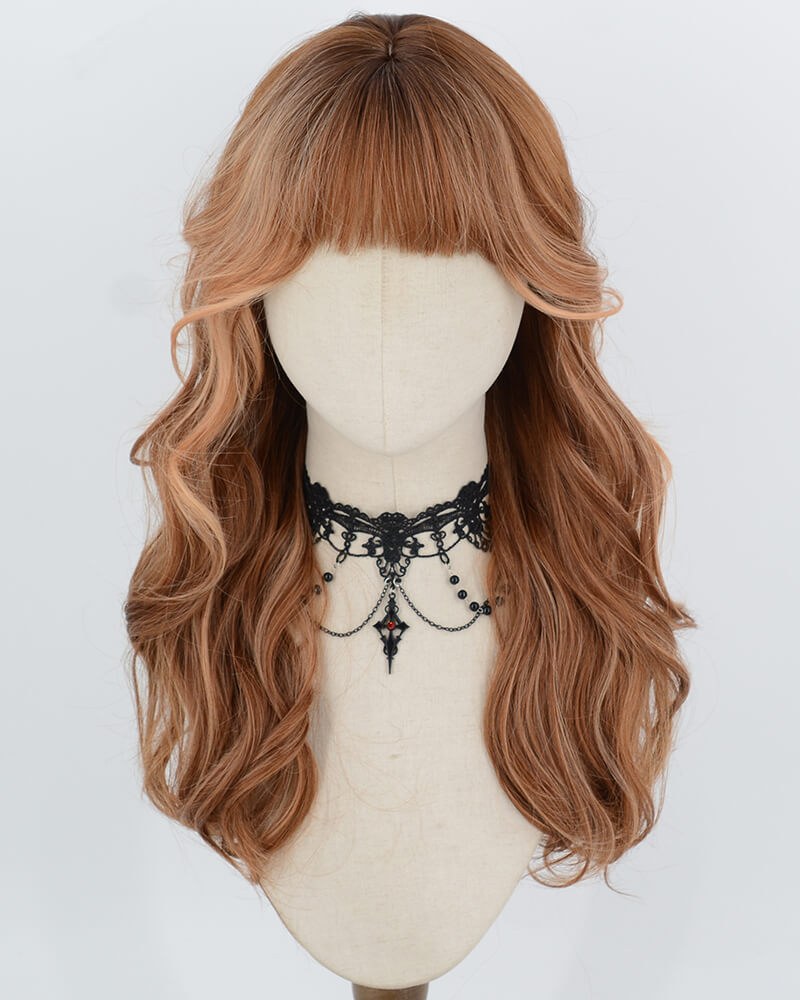
- Fixed parts — These are pre-styled parts built into the cap, often seen in many regular and machine-made wigs. Hair is sewn or machine-wefted so the hair falls in a specific line. Fixed parts are low-maintenance but limited: you can enhance them with products, but you can’t move the root line without cutting or re-ventilating the cap.
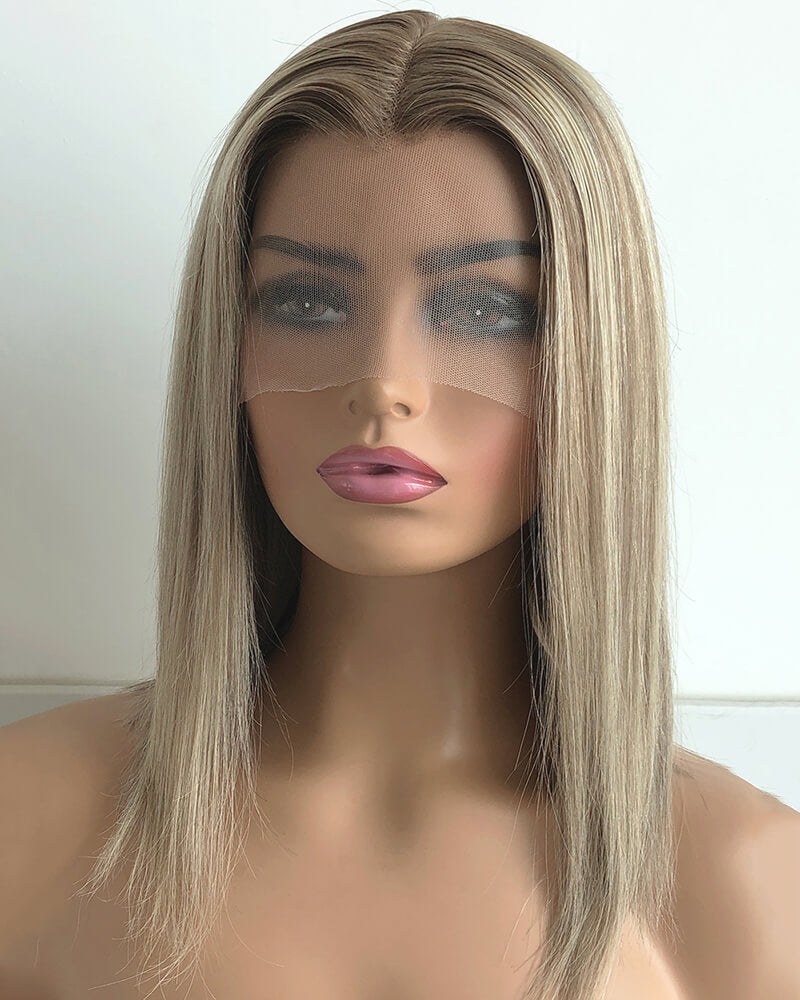
- Lace partings — Lace front or full-lace wigs include a thin lace material at the perimeter or across the cap where individual hairs are hand-knotted. Lace creates the appearance of hair emerging from the scalp, so parts can be created, deepened, or moved with more realism and flexibility.
Understanding which type you own keeps you from forcing the cap into a shape it won’t hold. If the label or product page doesn’t spell it out, check the product photos in the catalog or inspect the inside of the cap: visible lace at the hairline or a hand-tied section suggests more flexible parting options.
Read the label and work with the cap, not against it
Every wig should come with a label or product description that notes cap construction and fiber type. Use that information before attempting to change the part:
- If the label says “fixed part,” accept that the root line is set; you can still enhance the illusion with styling, but moving it drastically risks damage.
- If it’s a lace front or full lace, the label often indicates where you can part and how deep the lace is; deeper lace gives more flexibility.
“Work with the cap” means modifying the hair and styling around what the cap can do: coaxing a fixed part to look more natural, or using lace strategically to change the part without unnecessary cutting or permanent alteration.
Tools and products that help create believable parts
Assemble a compact kit before you begin:
- Wide-tooth comb and a fine-tooth tail comb for precise parting.
- Heat tools only if the wig fiber and label permit—many synthetics require low-heat or are non-heat safe.
- Styling clips and small sectioning clips to hold hair out of the way.
- Lightweight mousse or gel for human hair; products made for synthetic wigs for man-made fibers.
- Concealer or powder close to your scalp tone to reduce visible lace or base fabric at the part.
- Scalp tape, glue, or wig adhesive if you need to flatten the lace at the hairline—follow product instructions and test on a small area first.
Choose products that match the fiber: human-hair wigs accept salon products; synthetic wigs often need formulations designed for those fibers to avoid residue or stiffness.
Creating or refining a part on a lace wig
Lace gives you the most flexibility. Here’s a step-by-step that preserves the lace and hair while producing a realistic part:
- Secure the wig on a wig head or your own head. If using adhesive, follow the product’s directions and the wig’s care label.
- Use a tail comb to mark the desired part line. Start shallow—you can always deepen later.
- Gently tease or separate hairs away from the part. On a full-lace wig you can move root hairs farther apart to widen the part; on a lace-front, focus near the hairline and maintain a natural density.
- Apply a tiny amount of lightweight product to the root area and smooth with the comb to set the hair down. Too much product will make the lace visible or stiffen the hair unnaturally.
- If the lace or cap shows through, use a thin swipe of concealer or powder that matches your scalp under the part. Blend carefully so there’s no obvious color line.
For a deeper or off-center part, adjust in small increments. Lace responds well to repeated gentle adjustments rather than forceful pulling, which can loosen knots.
Working with fixed parts: enhancement, not reinvention
Fixed parts don’t move, but you can still achieve a natural finish:
- Use a fine comb to lift hair at the root along the existing part slightly. A little root lift adds depth and shadow.
- Apply a small amount of product to mimic a scalp shadow—matte powders or dry shampoos in the right shade help without adding shine that betrays a wig.
- Strategic trimming: for some fixed-part wigs, minor cutting of face-framing layers softens the look around the part. Avoid cutting into the cap or cutting knots.
- Consider a quick lace-front retrofit when appropriate: some fixed-cap wigs can be modified by an experienced wig specialist who adds a small lace section to allow a different parting. This is a professional alteration—ask before attempting.
Accepting that the part is fixed allows you to spend energy on realistic rooting and depth instead of trying to relocate the line entirely.
Color, density and part illusion
Two visual factors make or break a part: the contrast between hair and scalp, and hair density at the root.
- If the scalp shade beneath the part conflicts with your skin tone, it reads as fake. Use concealer or lightly tinted powders to match the scalp color under the part.
- Very dense hair at the part looks less natural for certain styles. You can thin nearby sections slightly with thinning shears (or have a stylist do this) to create a gradual transition.
- Conversely, sparse parts can be filled visually with root-colored powders and careful styling to avoid gaps that reveal cap fabric.
These adjustments are visual tricks rather than structural changes—use them when you want a fast, reversible improvement.
Maintenance: keeping the part believable over time
Parts shift and fibers mat with wear. A maintenance routine keeps parts crisp and natural:
- Brush gently along the part to keep hair aligned without loosening knots on lace.
- Clean the part area with the appropriate products and frequency for the fiber to remove product buildup that makes the lace look unnatural.
- Store wigs on a block or stand to preserve shape; do not fold lace at the part or crease it.
- When using adhesives or tapes, remove them carefully and follow the adhesive manufacturer’s cleaning procedures so residual glue doesn’t darken the lace or fabric.
Regular light maintenance prolongs the life of your parting work; heavy alterations often require professional servicing.
When to seek professional help
Some parting goals are best handled by a wig specialist or stylist, especially if you want a permanent or semi-permanent change:
- Adding a lace panel to a fixed cap, or professionally ventilating hair into lace.
- Extensive thinning or reshaping that risks exposing the cap.
- Color-matching the cap base for a custom scalp effect.
Consult a pro if you’re unsure. If you’re buying an altered product, check our wholesale and contact pages to confirm specifics like MOQ and lead time with ARIS BEAUTY SUPPLY before commissioning custom work.
Practical examples to try at home
Three quick exercises illustrate how construction affects your approach:
- On a lace-front bob: mark a deep side part and gently lift the near side roots. Use a light powder under the part to match your skin tone and a dab of styling gel near the hairline to hold baby hairs.
- On a fixed-center part machine-made wig: enhance depth with a matte root powder and lift the hair outward from the part with a round brush and low-heat blow-dry if allowed by the fiber; avoid trying to move the part.
- On a full-lace long wig: experiment with center, side, and zig-zag part lines. Because the lace supports knotting, you can open the hair more at the root to create a wider part without damaging the cap.
These examples keep changes reversible and respect the wig’s construction.
Conclusion: respectful styling wins every time
Successful wig parting begins with knowing what you’re working with—fixed parts or lace—and reading the wig label instead of forcing the cap. Use appropriate tools and products for the fiber, make small, incremental changes, and match scalp color and density visually rather than attempting risky structural alterations at home. When in doubt, a specialist can add lace or professionally adjust the cap. For supplies, care guidance, and to review cap descriptions before you buy, browse our catalog sections such as lace front wigs, regular wigs, and human hair wigs, or visit care and shipping for handling and delivery questions. If you need custom guidance or to confirm product specifics, reach out via our contact page—orders begin as email inquiries and details like wholesale pricing and lead time should be confirmed with the company directly.